The label printing process can definitely be time-consuming. Having to go onto the Ready to Print page and manually print each and every label or batch can take a few extra minutes. If you’re in a busy shipping season, it can take even longer. What if we told you that we have a feature available where labels can print instantly once you select the “Buy and Print Label” button? What if we also told you it’s a free feature for our Basic and above plans and only a $5 add-on for our Starter plan? That’s why we’re here to tell you all about ConnectEasy and how it can make your label printing process even easier.
ConnectEasy is an application you download onto your computer that allows you to print labels instantaneously once the “Buy and Print Label” button has been clicked on the Ready to Ship or Orders page. Most hard-wired printers are compatible with ConnectEasy, including both thermal and laser printers, as long as those printers support label sizes such as 4×5, 4×6, and 4×8. Labels, pick lists, and packing slips can be printed using ConnectEasy. You are even able to customize which carrier label(s) print through ConnectEasy or connect multiple printers, as long as those printers are connected to your specific workstation.
What is a Workstation?
The computer where ConnectEasy is installed is considered your workstation. You can install ConnectEasy on multiple workstations. However, you will need to select the printer associated with the workstation you are using in your Printer Configuration settings to avoid your labels not printing or potentially being sent to the wrong printer. To better understand how to access these settings, let’s dive into installing ConnectEasy!
How to Install ConnectEasy
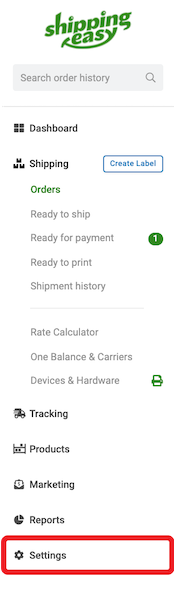
If you’re on our Basic plan or above or you’ve selected the $5 add-on for your Starter plan, ConnectEasy should be ready for download. To get started, you’ll select the Shipping tab from your menu. From there, you’ll select Devices & Hardware, where you should see a screen like this:
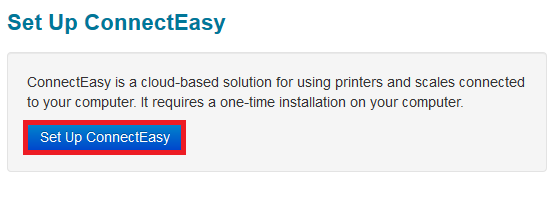
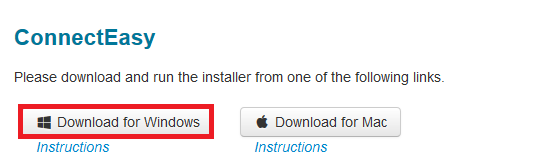
Once you select “Set Up ConnectEasy,” you’ll be guided to a landing page where you will select whether to download the application for Windows or Mac. Once you see this page, you can follow these steps below to finish the setup:
MAC
1. Click Shipping from the left sidebar.
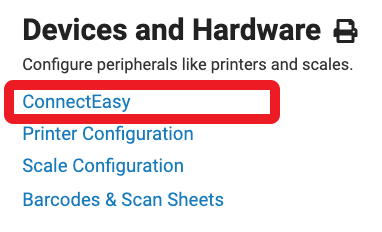
2. Click on ConnectEasy under Devices and Hardware.

3. Select Set Up ConnectEasy.
4. Select Download for Mac.

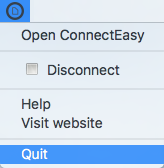
5. Shut down any previous versions of ConnectEasy that may be running before proceeding. You will see an icon for ConnectEasy in the upper-right corner of the screen.
![]()
6. Click the icon with your mouse and select Quit from the drop-down menu.
7. Locate the downloaded ConnectEasy file, usually this will be in your Downloads folder.
8. Double-click the ConnectEasy.dmg file to open it.
9. The dmg file will open to display several items.

10. Drag the ConnectEasy item to the Applications folder. If asked to replace an existing version, click Yes.
11. Close the ConnectEasy folder, then right-click on the drive and eject the ConnectEasy drive.

12. Open your Applications folder and double-click the icon for ConnectEasy.
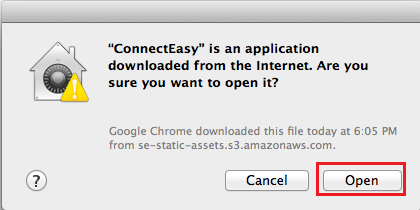
13. Click the Open button.
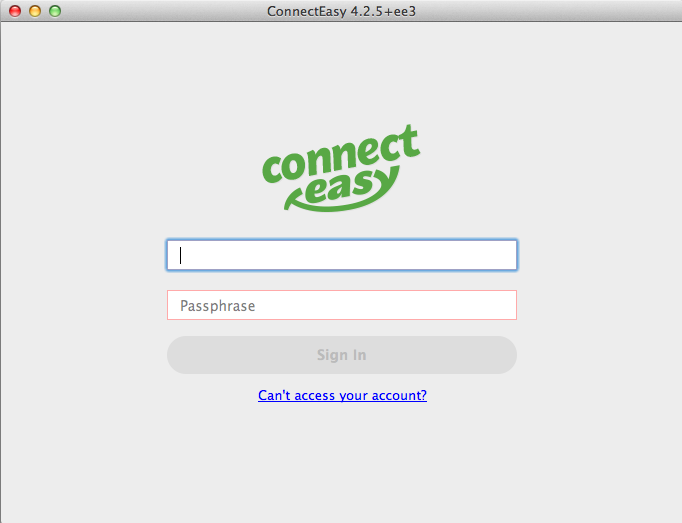
14. The ConnectEasy sign-in window will open. If you do not see it, minimize all other windows on your Mac until the pop-up is displayed.
15. Locate your ConnectEasy credentials in ShippingEasy by going to Settings >> Devices and Hardware >> ConnectEasy.
16. Select the clipboard icon to copy the credentials and paste them into the ConnectEasy sign-in window.

17. Click Sign In once the ConnectEasy Identified and Passphrase have been entered and you’re done!
Windows
1. Click Shipping from the left sidebar.
2. Click on ConnectEasy under Devices and Hardware.
3. Select Set Up ConnectEasy.
4. Select Download for Windows.
5. Locate and open the ConnectEasy.exe installer after the installer downloads to your computer. The exact download location will vary depending on your browser – the example shown below is at the bottom of the Chrome browser.
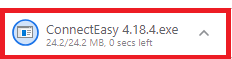
6. If your browser does not display the file after downloading it, check the Downloads folder on your computer.
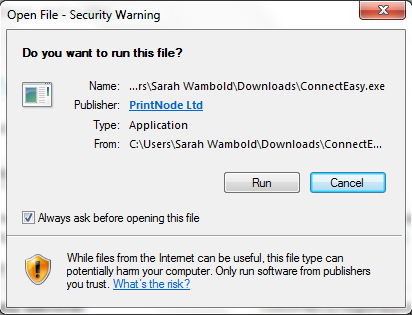
Click the Run button when prompted.
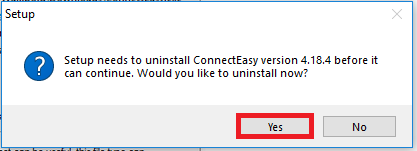
7. Click Yes to close/shut down a currently running instance of ConnectEasy if an installed version of ConnectEasy is detected on your computer.
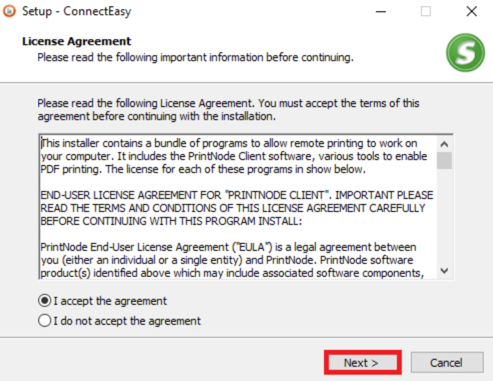
8. Accept the agreement and then click Next.
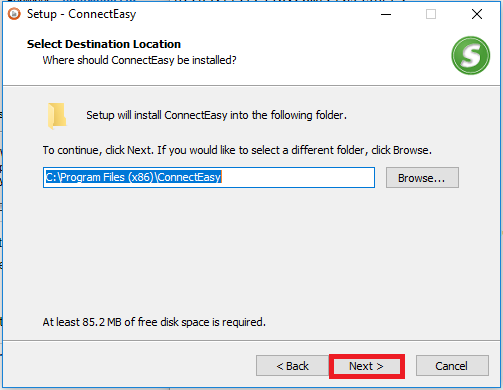
9. Select a destination location for the program by selecting browse, or use the default location (recommended) and click Next.
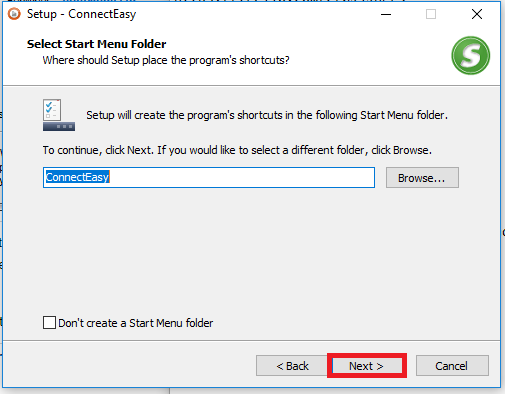
10. Select a location for the program’s shortcut icons, or use the default location (recommended) and click Next.
11. Select Additional Tasks, if needed, and then click Next.
- Create a desktop shortcut: select if you wish to access ConnectEasy from your desktop. Keep in mind that it will be available from the Start menu, and also made available from the taskbar.
- Install ConnectEasy as a Windows Service: option for those who are running server operating systems or computers where multiple people can be logged in simultaneously. Most users should not check this option. If you are not sure about this option, consult with your system admin before selecting it.

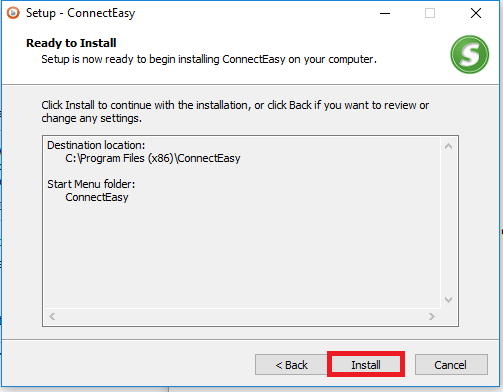
12. Click the Install button when prompted.
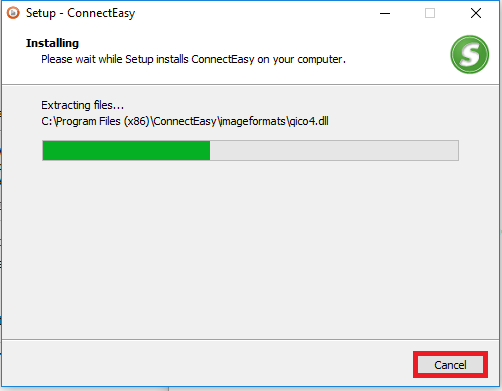
13. A progress bar will appear to let you know the installation process has begun.
14. Enter the ConnectEasy Identifier and Passphrase on the ConnectEasy sign-in window. This allows ConnectEasy to receive print jobs from your ShippingEasy account.
15. Open ConnectEasy. If the ConnectEasy welcome screen does not automatically appear, manually open ConnectEasy by navigating to the Start menu > All Programs > ConnectEasy > ConnectEasy.exe.
16. Locate your ConnectEasy credentials in ShippingEasy by going to Settings then to ConnectEasy.
17. Select the clipboard icon to copy the credentials and paste them into the ConnectEasy sign-in window.
18. Click Sign In once the credentials have been entered and you’re done!
After ConnectEasy is installed, you can go to the Printer Configuration menu on the left-hand side seen above and start connecting your printers and exploring the workflow options available. For any additional questions or troubleshooting, reach out to our wonderful support team.
Benefits of ConnectEasy
Congratulations! You’ve downloaded ConnectEasy and configured your printers. What benefits can you now look forward to?
- Printing your labels instantaneously instead of having to go to the Ready to Print page
- Selecting which labels for your connected carriers, packing slips, and pick lists print immediately and which continue to print via PDF
- Choosing which printer will be used for your printing needs
For example, you would like your labels to print from your DYMO printer but your packing slips to print from your laser or inkjet printer, as long as both of those printers are connected to your current workstation, this option is available for you. It’s also wonderful if your business has multiple computers or users that need to use ConnectEasy. As long as ConnectEasy is installed on each computer, and the printer for that specific workstation is selected, you should be ready to start printing more quickly and efficiently.
Conclusion
When you’re running a small business, every minute you can save during the shipping process is important. That’s why ConnectEasy can be an extremely helpful tool. By printing your labels instantly, you don’t have to worry about clicking on each label or batch to print on your Ready to Print page. Instead, those labels will just immediately print, saving a step in getting your orders out to your customers. We’re here to make your shipping as smooth as possible. That’s why ConnectEasy and ShippingEasy both have “easy” in the title.
Looking for more ways to streamline your shipping process? Check out The Ultimate SMB Checklist for more tips for the holiday season and beyond.