Shipping 201: A New Small Business Owner’s Guide to Shipping

You’ve registered for a ShippingEasy Starter plan, gathered your necessary shipping supplies, and have opened your small business. What comes next? It’s time to prepare for all of your incoming orders and establish your brand to give your customers a more personalized experience.
Table of Contents
5. Shipping guidelines for specialty items
6. Tips for packaging non-specialty items
Uploading orders
Before orders start appearing on your Orders page, you’ll need to connect a store integration to your ShippingEasy account or manually upload orders from a CSV file. Automatic and manual order uploads will both bring orders to your Orders page, but the process for each is different. Let’s dive into the world of store integrations and CSV files.
Store integrations
ShippingEasy is compatible with several different marketplaces including Amazon, eBay, Etsy, Shopify, and WooCommerce. These stores are connected through an integration that allows us to check for orders every 1-4 hours and pull those orders onto your Orders page.
Syncable orders statuses include:
- Awaiting Payment
- Awaiting Fulfillment
- Awaiting Shipment
- Partially Shipped
The names of these statues might differ from integration to integration, so we recommend checking out our Knowledge Base’s store integration guide to find your store’s order statuses.
Connecting your store
While each store’s connection process will vary, all of your connected stores will be visible in your Stores & Order tab.

The first step in adding a new store will also be the same for all supported integrations.
Once a store has been successfully added to your ShippingEasy account, the green Connected icon will show above the store’s address and information.
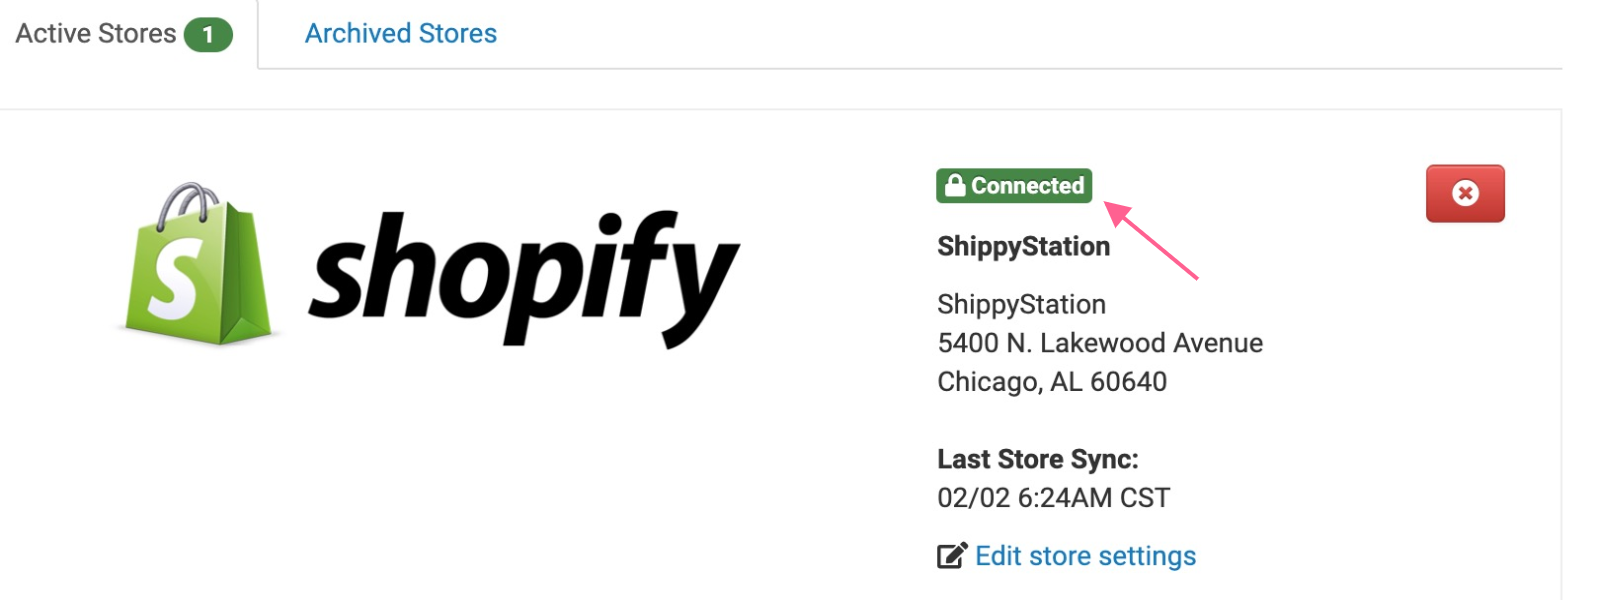
As long as this icon is shown and orders are in a syncable status, your account should be ready for Orders to start coming in!
Uploading manual orders
As we mentioned earlier, uploading your orders manually is another option available within ShippingEasy. You’re able to upload manual orders individually on the Orders page.

This can be time-consuming if you have multiple orders, so we recommend using CSV files to upload orders in bulk. What exactly is a CSV file though?
What are CSV files?
Comma-separated value, or CSV, files that organize your information in a table-based format. The biggest and most important difference is that CSV files don’t need a specific program installed to open, making them ideal for uploads in software like ShippingEasy.
Creating and uploading CSV files
Once you’ve created your file in a program, you will export your file as a CSV. Most programs, like Numbers, will have an Export To tab to make saving your file simple.

Once your file has been exported and saved, go to the Orders page on your ShippingEasy account and select Upload Orders.
After you upload your CSV file, you’ll be taken to a screen to map your CSV file. Here, you’ll select which column from your CSV file on the left matches the ShippingEasy column on the right.

After mapping your CSV file, you’ll be taken to a screen that shows any mistakes in your file and gives instructions on how to fix them. And voila! Your orders will be uploaded to your Orders page.
Preparing for orders
Once your store starts receiving orders, it’s important to understand the Orders page of your ShippingEasy account. The Orders page is designed to streamline your shipping process by organizing unshipped orders in one central location. Orders filters help to find orders with categories like order date, destination, and recipient. The Order search bar also simplifies finding specific orders.

Stay tuned because we’ll be covering more advanced Order page actions in our next blog, Shipping 301: A New Small Business Owner’s Guide to Shipping!
Behind on the syllabus? Check out Shipping 101: A New Small Business Owner’s Guide to Shipping.
Establishing your brand
You’re starting to see orders come into ShippingEasy, and you want to continue building your customer base. Adding a personalized touch like your business’s logo on your USPS shipping labels or a customized email template to send to your customers will create a connection that keeps them coming back to your store.
Adding logos to labels
Adding your logo to USPS shipping labels advertises your business and adds a special detail to your label. Plus, adding a logo in ShippingEasy is, well, easy.
Before you upload your logo, there are a few things to keep in mind. For the best photo quality, we recommend:
- A rectangular image
- Dimensions of 720 pixels (width) by 130 pixels (height)*
*Don’t worry, if your image is smaller than these dimensions, we’ll automatically resize it to our recommended dimensions.
Logos also need to be:
- No larger than 1MB
- A 16bit JPG or PNG file
After your logo has been saved and sized, you’ll upload it to your store settings by going to Settings > Integration > Stores & Orders > Edit Store Settings > Branding.

Next, you’ll select the USPS logo option for your labels in your Settings > Label Sizes & Printing Options > Labels. Select the Logo option under Domestic USPS Label Options.

Save your settings at the bottom and enjoy the new logo on your USPS labels.
Packing slip customization
You’ve added a logo to the outside of your USPS shipping labels, but what about the inside of your shipments? Customized packing slips are another way to add a personalized touch to your packages. Let’s unwrap some of the different options available within ShippingEasy.
Packing slip templates
There are several premade packing slip templates in your ShippingEasy account, but these packing slips aren’t able to be changed. The good news is that if you create your own packing slip template, the customization options are almost limitless! These packing slip templates work off of lines of code, or variables, that can be edited to change things like the font of the text on your packing slips or to add things like your business’s logo.
To create a new packing slip template, go to Settings > Label Sizes & Printing Options > Packing Slips > New Template > Create Your Own.

This blank template can be used to create the packing slip of your dreams, and your customers will appreciate the personalized touch.
Custom email templates
Like packing slips, email templates can also be customized in ShippingEasy using variables. The default emails templates are sent to your customers when their order has been shipped and if they need a return label for their shipment. Each store connected will have its own email templates, with the exceptions of Amazon, Jane, Reverb, and Wish because they have stricter requirements for customer emails. We’ve included an example of the default email template below.
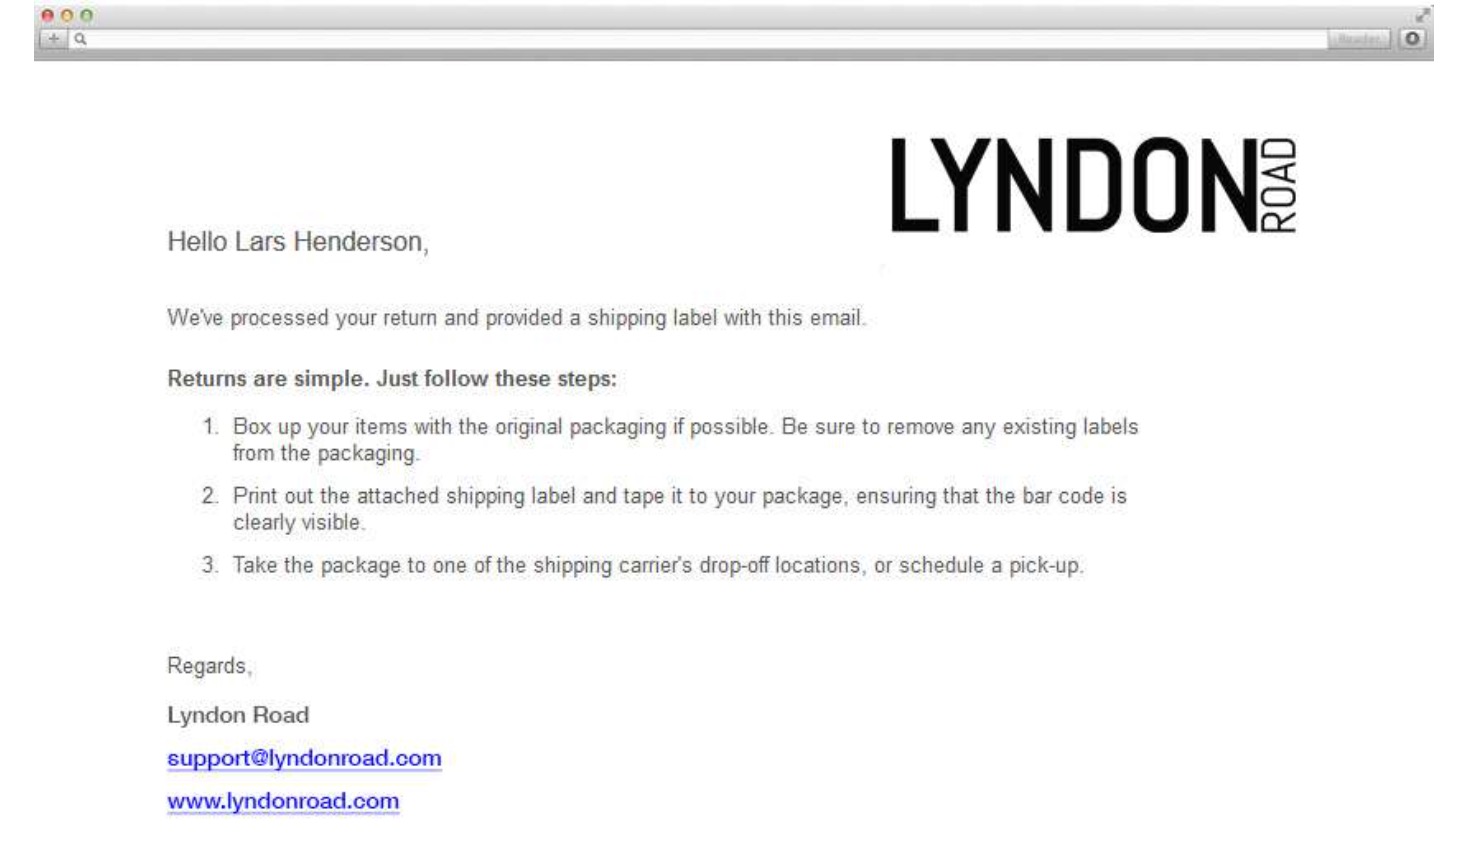
Creating a new email template, however, does enable you to customize these emails with your logo, different colors, links to your business’s website and social media sites, and much more! To access the email template builder, you’ll go to your Settings > Account Settings > Email Templates > Add New.

After creating your email template, you’ll go to Settings > Integrations > Stores & Orders > Edit Store Settings > Notifications.

Having personalized USPS labels, packing slips, and email templates will help you stand out against other businesses and create a great relationship with your customers.
Branded Tracking notifications
In addition to custom email templates, ShippingEasy offers free Branded Tracking notifications for our $5 Starter plan and above. Branded Tracking notifications are sent to your customers as soon as they’ve completed their purchase and provide you with the opportunity to add color schemes, menu links to various parts of your website, and the option for SMS Branded Tracking notifications, where your customers can receive text messages about their domestic orders.

Enabling Branded Tracking
Branded Tracking notifications are enabled by going to the Tracking section of your profile.
Once you’ve designed your Branded Tracking notifications, you can confirm they’re enabled for your stores by going to your store settings.

Limitations of Branded Tracking notifications
Similar to email notifications, Branded Tracking notifications can’t be used for Amazon, Jane, Reverb, and Wish due to their guidelines. Branded Tracking notifications can also only be used for USPS domestic shipments - with the exception of First Class Large/Flat envelopes because this service doesn’t provide tracking information. SMS Branded Tracking notifications can also only be used for domestic shipments.
While it does have its limitations, Branded Tracking notifications still provide your business with an opportunity to add some creativity to the traditional tracking email.
Let us give you a helping brand with creating tracking emails with our Driving Repeat Business: A Guide to Building a Loyal Band of Customers eBook!
Tips for packing orders
You’ve added your store(s) to ShippingEasy and established your brand through creative email and packing slip templates. Now that orders have started coming in, it’s time to get them all packed up to ensure they get delivered to your customers on time and without damages.
If you missed the first blog in our A New Small Business Owner’s Guide to Shipping series, Shipping 101, don’t worry! We’re going to recap where to find shipping supplies and guide you through the basics of shipping specialty products like food, plants, and musical instruments.
Looking to unbox more information about shipping basics? Learn more in our How to Ship a Package blog!
Shipping supplies
To get your shipping started, we recommend having the following few items on hand:
- Scissors
- Clear tape
- Kraft paper, newspaper, and other paper products for wrapping fragile items
- Shipping boxes that are a few inches bigger than your products
- Thank you notes for your customers
If you’d prefer to get shipping supplies directly from USPS, UPS, or FedEx, we’ve included information below on where to find those shipping supplies.
USPS
To find the USPS closest to you, check out their location tracker. While it isn’t guaranteed each location will have the specific shipping supplies you need, USPS does also offer online supply ordering, where many of the supplies are free and can be shipped directly to your home or business.

UPS
Like USPS, UPS has a location tool to find the nearest UPS Store. The added benefit of the UPS Store is that you can get real-life help and guidance packing your shipment. Unlike USPS, UPS doesn’t have the option for guest checkout, so you will have to create a free UPS account before browsing their online supply selection.

FedEx
FedEx also provides a locator tool on their website that shows FedEx Office and FedEx Authorized ShipCenter locations. FedEx does require a nine-digit account number and credit card on file when purchasing supplies directly from their website, so for more information on creating this account, we recommend reaching out to FedEx directly.

Shipping guidelines for specialty items
Shipping perishable items like food and plants and fragile items like musical instruments can seem daunting. There are guidelines to follow for some of the these products, but we’re here to breakdown some of the biggest requirements for you.
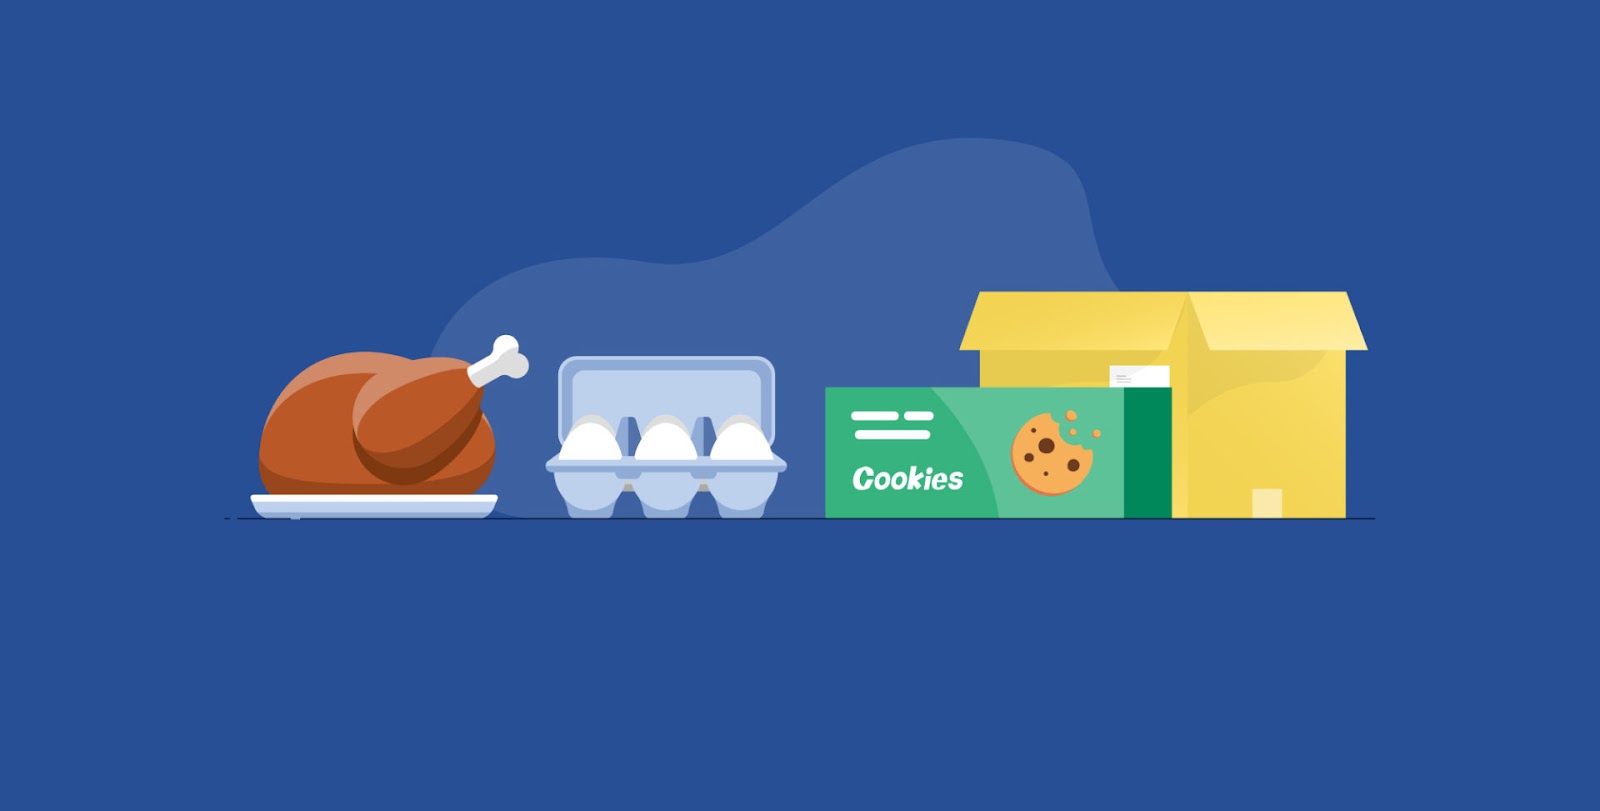
Shipping food
With perishable items like meat, it’s important to check USDA regulations to avoid any potential damages or adjustments. Items like cookies and other goodies need to be sealed well, and USPS recommends making sure there are no raw ingredients or additional cooking times needed. Also, all perishable items need to be marked on the outside of the package. For more tips and tricks about shipping food, check out our How to Ship Food with USPS blog.
Shipping Plants
Shipping plants does require using the National Plant Board, or NPB’s, database to check that the plants you’re sending don’t violate any state-specific restrictions. The good news is that you can reach out to your State Plant Regulatory Official with any additional questions you may have. Plants are also very fragile, so we recommend using corrugated boxes because they have multiple layers for more secure shipping. For more guidance on shipping plants, check our case study with ShippingEasy user Grounded.

Shipping musical instruments
Musical instruments may not be perishable, but they are fragile and uniquely shaped. We recommend filling any empty spaces between cases and/or instruments in your package with kraft paper, newspaper, or other types of paper to keep your instruments from moving around during transit. It’s also important to wrap any breakable pieces individually. For more information on shipping musical instruments, check out our How to Ship Musical Instruments blog.

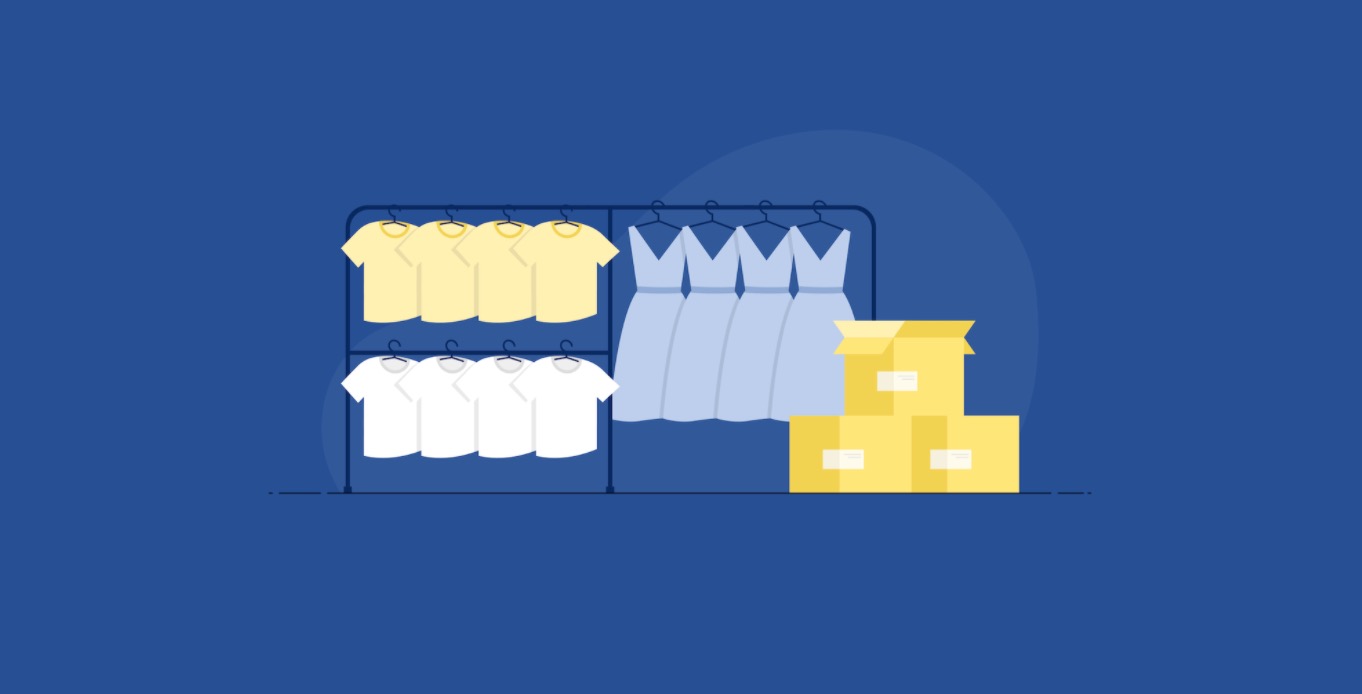
Recommended services for clothing
Clothing isn’t necessarily a specialty item, but it’s a commonly shipped item, so it’s important to know your options. For clothing shipments under one pound, we recommend USPS’s First-Class Package Service. For clothing shipments over one pound, the best service depends more on the destination of your shipment, or the zone your shipment is traveling in. Check out our What Is the Cheapest & Best Way to Ship Clothing? blog for more details on shipping clothes.
Get in the zone with our What are USPS Zones & How Do They Affect My Shipping?
Tips for packaging non-speciality items
For non-specialty items, we have a few tips for your shipping:
- Secure your products by filling any empty spaces between your packaging and product with kraft paper, newspaper, and other paper goods
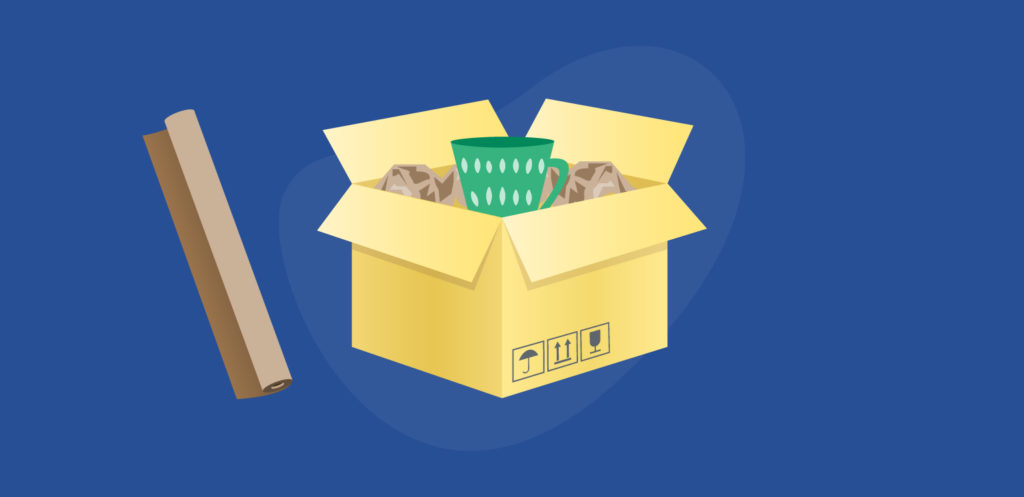
- Close all box flaps and package openings with tape
- Reusing boxes is sustainable, but remove any old labels or shipping information to avoid any confusion
- Confirm your customer’s address is correct if you have any questions
- Place tape over the label to ensure your customer’s address doesn’t get smudged or damaged in transit
Carrier Customer Support
For any additional questions about your shipments, we recommend reaching out to your chosen carrier directly through the websites below.
Conclusion
Starting a new business is no small task. It takes research and preparation, and it can definitely be overwhelming. That’s where we come in! Navigating your Orders page, taking the steps to establish your brand, and learning more about the guidelines for specialty products are building blocks for creating the small business you’ve always wanted.
Looking for extra credit before our Shipping 301 blog? Our Bricks to Clicks eBook is full of advice on getting your business started!
FAQs
- What support options are available to users on the Starter plan?
- Users on the Starter plan have access to email support, and our award-winning support team will respond to your email during our normal business hours of 8am-6pm CST, Monday through Friday. You can contact support by selecting Email from the Need Help? dropdown menu in the upper left corner of your ShippingEasy dashboard.

- Should I offer my customers free shipping?
- If you’re able to offer free shipping, it can be highly beneficial to your business. Offering free shipping will help you to compete with marketplaces like Amazon’s free shipping options with Amazon Prime.